Event Photo Delivery Checklist for Photographers: From Memory Card to Client Link
The shoot ends, but the job does not. Clients judge you on how smoothly the photos reach them as much as on the photos themselves. A repeatable checklist keeps delivery fast, protects your files and avoids the "can you resend that link?" emails.
Use this checklist from the end of the event to a week after delivery.
Before you leave the venue
- Copy every card to two places before formatting anything.
- Agree on delivery timing with the client and say it out loud, for example "a first set tomorrow and the full gallery in two weeks".
- Confirm who gets the link. The client, the organiser, or every guest?
- Ask about privacy. Should the gallery be private to the client, or open to all guests?
- Note any no-photo requests from guests, and keep them in mind when you cull.
The same night
- Back up to a third copy, off the laptop. See our guide to backing up event photos.
- Select a handful of images for a sneak peek. Clients love getting a few photos the next morning.
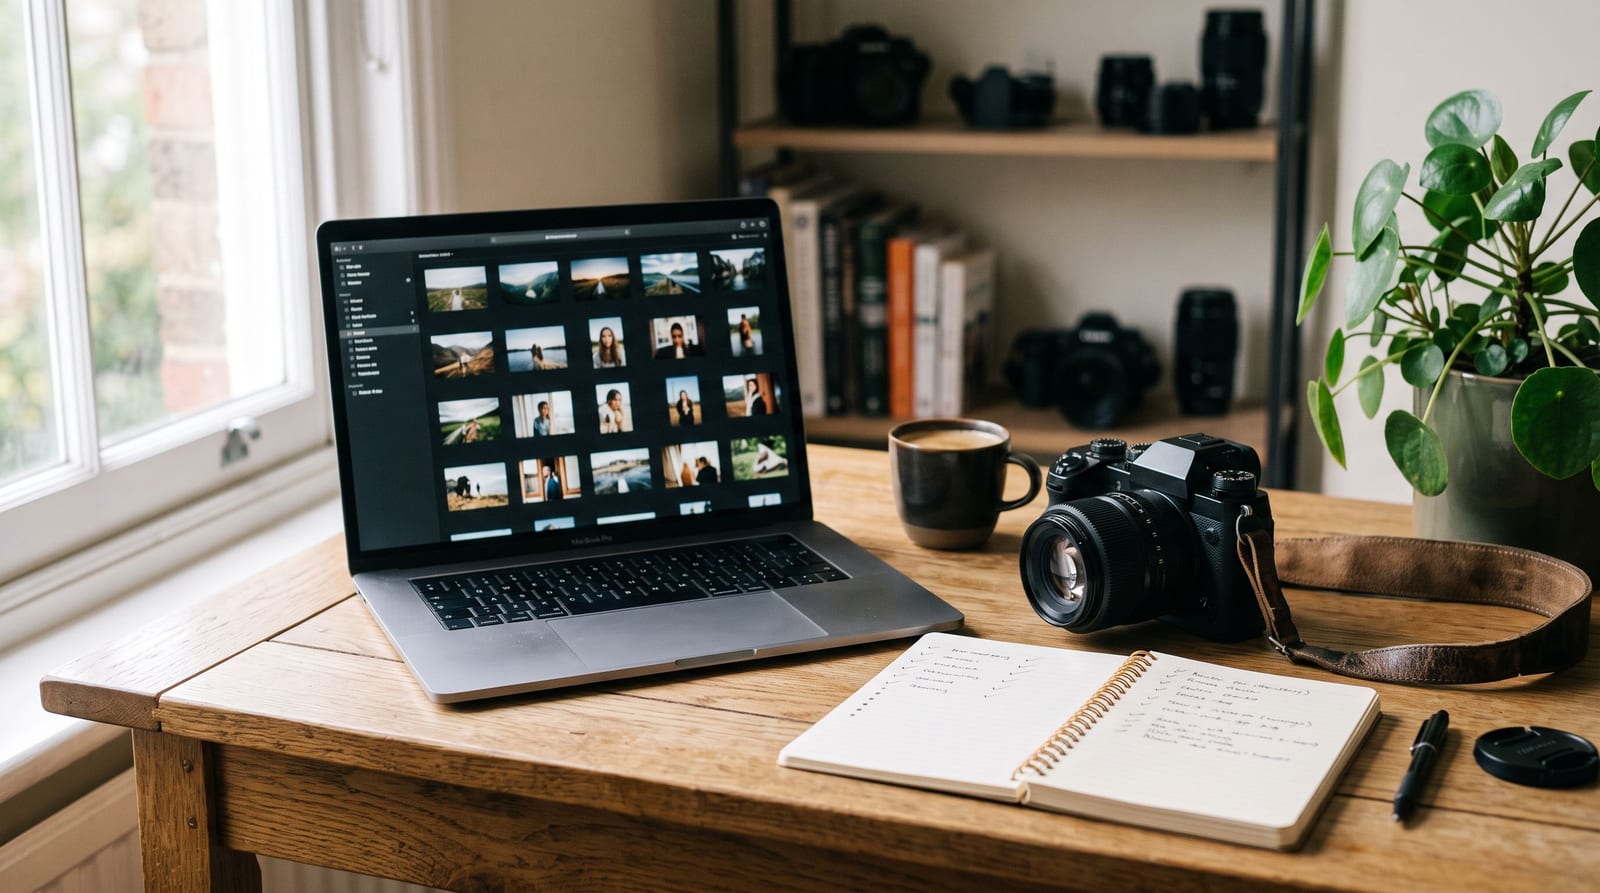
- Start culling. Remove duplicates, blinks and missed focus. Our explainer on photo culling covers the options.
During editing
- Edit for consistency. Match colour and exposure across the set.
- Keep originals untouched in a separate folder.
- Export at the size you promised. Check the contract for resolution and number of images.
- Add your branding if you use a watermark or a logo in the gallery header.
Setting up the gallery
- Choose the right type of gallery. Proofing and delivery are different jobs, as explained in our guide to proofing vs delivery galleries.
- Organise into folders such as ceremony, portraits, reception, so people find things quickly.
- Decide on downloads. Allow downloads of originals or sized versions, and say which.
- Set a privacy level. A private link, a PIN, or fully open.
- Set the expiry date and write it down so it appears in your message.
- Open the gallery on your phone before you send it. Most clients will.
Sending the link
A good delivery message includes:
- A short thank-you.
- The link, once, on its own line.
- How to download everything.
- How long the gallery stays online.
- Who to contact with questions.
If the client has guests, give them a short line they can forward, and a QR code for the table or invitation if the event is still ahead.
After delivery
- Check the first views. If nobody has opened the gallery after a few days, send a polite reminder.
- Answer questions in one place so the thread stays easy to find.
- Ask for feedback and, if appropriate, a testimonial or a referral.
- Archive the job with originals, edits and the contract in one folder.
- Keep files until the contract period ends. Then delete only what you promised to delete.
Common delivery mistakes
- Sending files by email attachment. They get blocked or compressed.
- Dropping a shared-drive link that expires or asks the client to sign in.
- No expiry message. Clients are surprised when a gallery closes.
- One folder with thousands of unsorted files. Nobody finds their photos.
- Forgetting the guests. If guests want their own photos, give them a way to find them without writing to you.
Make guest delivery self-serve
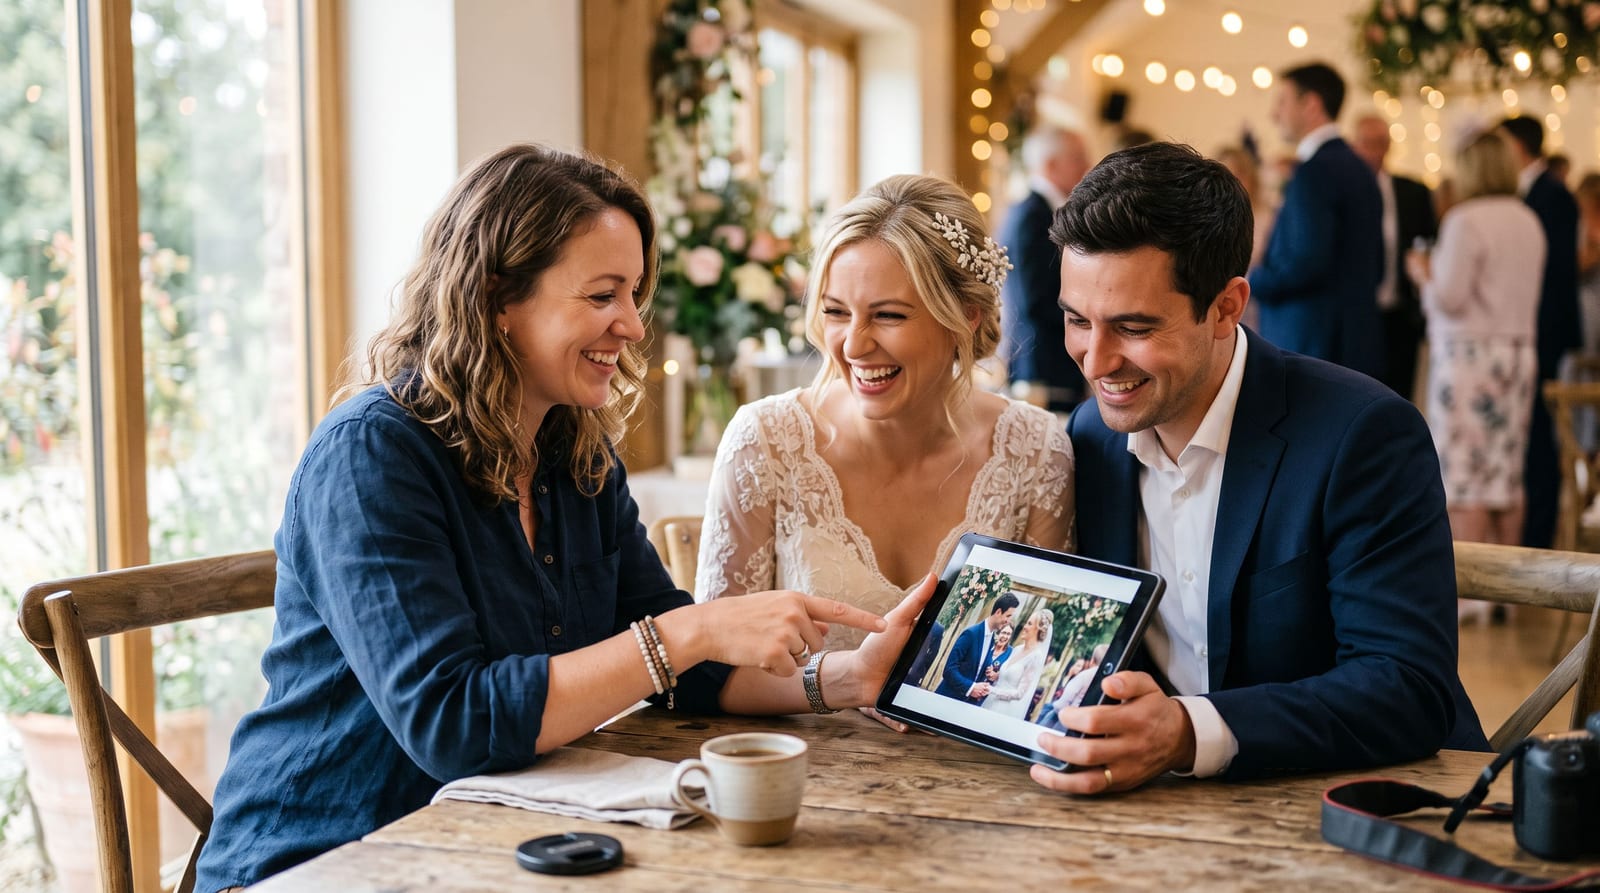
Guests are the biggest source of follow-up emails: "can you send me the one of us at the table?" A selfie search lets each guest find their own photos without writing to you. You can read how this works in our face recognition guide, and see how photographers use it on our photographers page.
Summary
Back up twice, deliver a sneak peek early, choose the right gallery, set expectations in the message and make guest access self-serve. A checklist turns delivery from a scramble into a routine. To try a branded gallery with selfie search, create a free event.