What Is Photo Culling? How AI Culling Works for Event Photographers
What Is Photo Culling? How AI Culling Works for Event Photographers
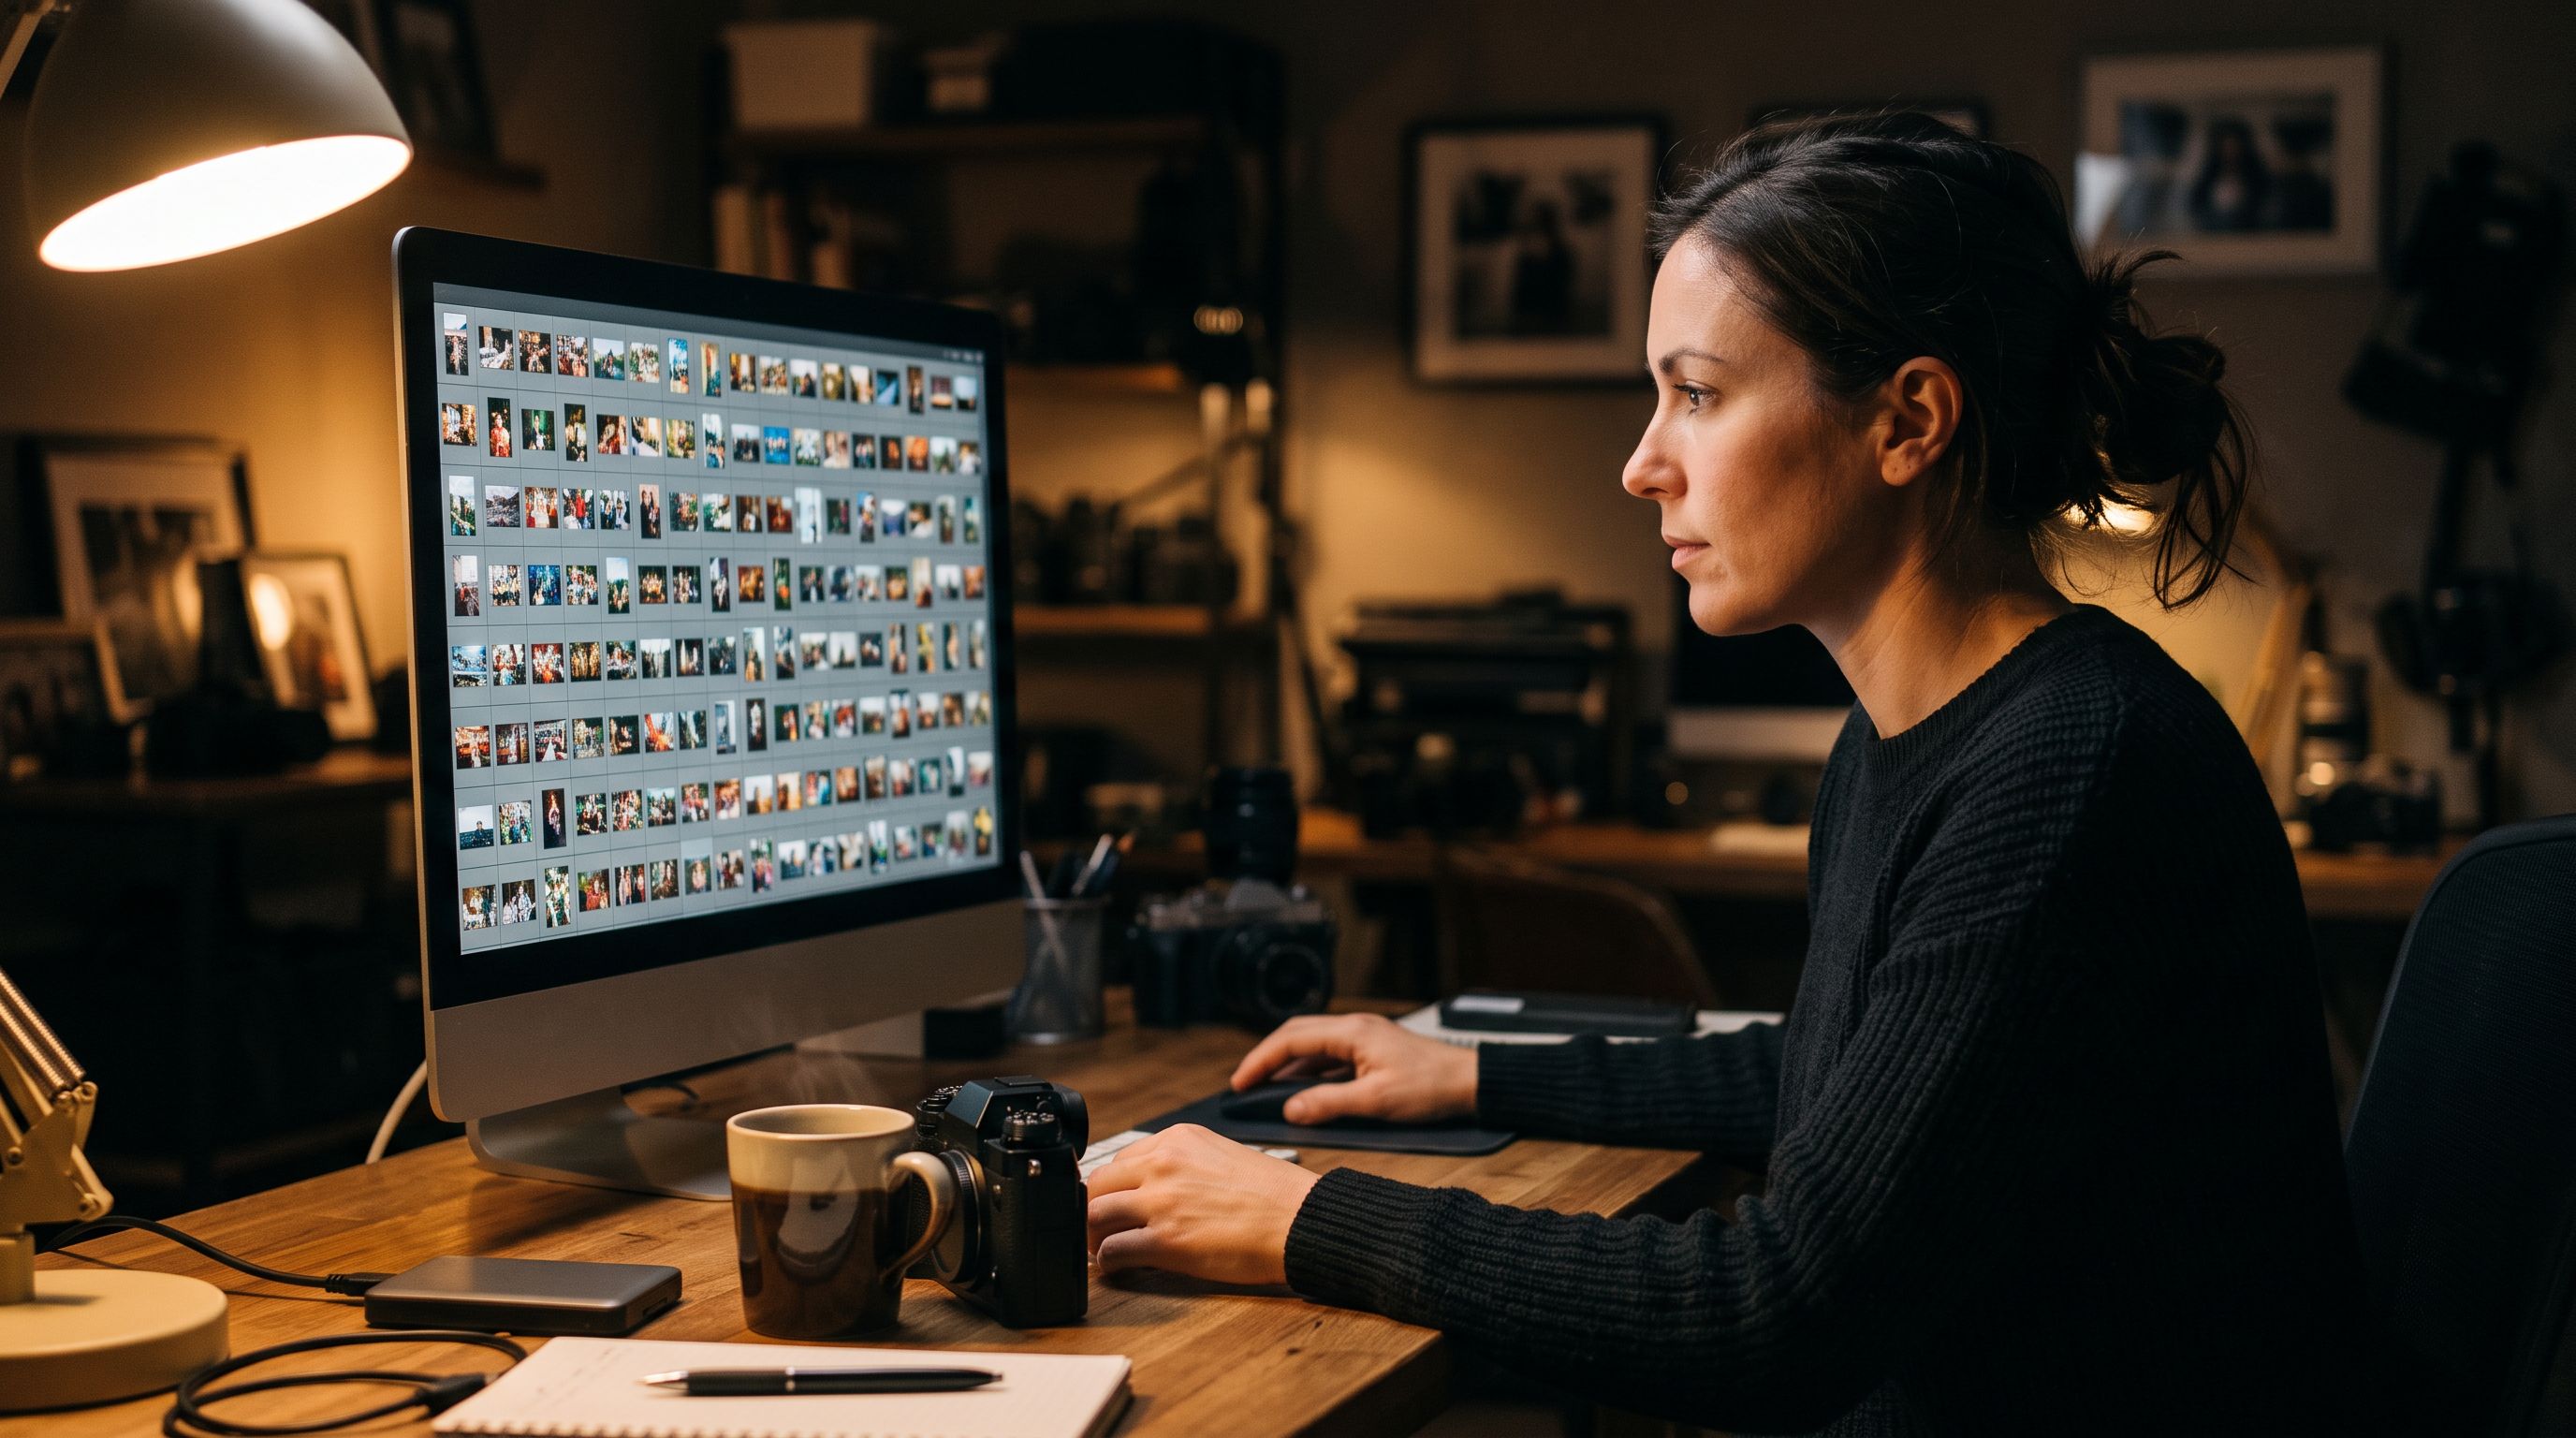
A wedding photographer can come home with 4,000 photos. The couple is going to receive perhaps 600. Everything in between is culling: the process of going through a shoot and choosing the photos that will be edited and delivered.
This guide explains what culling is, why it takes so long, and how AI culling tools work, including what they are good at and where a human eye is still needed.
What is photo culling?
Photo culling is selecting the keepers from a large shoot by removing the frames that will not be used. The usual rejects are:
- Blurry shots, from motion or missed focus
- Closed eyes and mid-blink frames
- Bad exposure, too dark or too bright to recover
- Near-duplicates, such as ten frames from the same burst
- Frames with an awkward expression, even if technically sharp
Culling happens before editing. There is no point colour-correcting a photo that will not make the final gallery.
Why culling takes so long
Culling is slow for three reasons:
- Volume. Modern cameras shoot quickly, and event photographers shoot in bursts so they do not miss a moment. Thousands of frames are normal.
- Repetition. Most of the work is comparing near-identical frames and picking the best one.
- Decisions. Each photo needs a yes or no, and tired eyes make mistakes late in the process.
Many photographers describe culling as one of the least enjoyable parts of the job. It is also where hours disappear. A shoot that takes eight hours to photograph can take several more to cull by hand.
How AI culling works
AI culling tools look at each photo and score it against measurable quality signals. They do not judge artistic merit. They check things that a person would check, but faster.
Typical checks include:
- Focus. Is the subject sharp? Many tools measure sharpness on the faces in the frame, since that is where focus matters most in event work.
- Exposure. Is the photo underexposed or overexposed?
- Eyes. Are eyes open, and in a group, are they open for everyone?
- Face angle. Is the face turned so far that it is hard to see?
- Duplicates. Are two frames the same, or so similar that only one is needed?
The tool combines these into a score and a reason, so you can see why a photo was flagged instead of trusting a number.
Duplicates and near-duplicates
Duplicates come in two kinds:
- Exact duplicates. The same file uploaded twice, often through a retry or a re-sync.
- Near-duplicates. Different files that show almost the same moment, like burst frames.
Finding exact copies is easy. Near-duplicates are harder, because two photos that look similar to a simple comparison might be of different moments. Better tools confirm similarity visually, so unrelated photos are not grouped together by accident.
Keep, review, reject
A useful way to use scores is to sort photos into three groups:
- Keep, where the photo passes every check
- Review, where something is borderline and a person should decide
- Reject, where the photo clearly fails
This puts your attention where it matters. You skim the keeps, make decisions on the review pile, and do not spend time on the obvious rejects.
In Pixeva, Auto Cull gives every photo a score from 0 to 100 and puts it into one of these three groups, with the reasons shown, such as "eyes closed" or "underexposed". You can read the details on the Auto Cull feature page.
What AI culling does well
- Removing the obvious rejects quickly and consistently
- Finding burst duplicates across thousands of frames
- Catching closed eyes in large groups, where a person might miss one face
- Staying consistent at frame 3,500 as at frame 35
Where you still need to decide
AI culling is a first pass, not a final judgement. It cannot tell:
- Which of two sharp frames has the better moment. A slightly soft photo of a perfect expression can beat a sharp photo of a flat one.
- Which photos matter to this particular couple. Only you know that a grandparent in the background is important.
- Intentional choices. Motion blur or heavy backlight might be exactly what you wanted.
The best workflow is to let the tool sort the obvious cases, then spend your time on the review group and the photos where taste matters.
A practical culling workflow
- Upload or import the shoot. Do this as soon as possible after the event.
- Run the automatic pass. Let the tool score and group duplicates.
- Skim the reject group. Check that nothing important was flagged, and recover anything that was.
- Work through the review group. This is where your judgement counts.
- Pick the best of each duplicate set.
- Hand off the keepers for editing.
Doing the automatic pass first usually removes a large share of the shoot before you have looked at a single photo yourself.
Culling and guest delivery
Culling also affects what guests see. A gallery with hundreds of near-identical frames is harder to browse, and slower for a guest to find themselves in. When a guest uses selfie search, they will be shown every photo they appear in, so duplicates mean they see the same moment several times.
If you are delivering to guests, our guide to how to share event photos covers the delivery side. For a deeper look at the duplicate problem specifically, see auto-culling duplicate and bad photos.
Questions photographers ask
Will AI culling replace human culling? It replaces the repetitive part, not the judgement. You still decide on the borderline photos and choose the best frames.
Does it work on RAW files? That depends on the tool. Check what formats a tool supports before you rely on it.
How do I know it is not throwing away good photos? Look at the reasons it gives, and skim the reject group the first few times. A tool that shows its reasoning is easier to trust.
Is it only for weddings? No. Any event with high volume benefits: conferences, sports, concerts and parties.
Summary
Photo culling is how a photographer turns thousands of frames into a delivered gallery. AI culling speeds up the repetitive checks, such as focus, exposure, eyes and duplicates, so you spend your time on the decisions that need taste. Use it as a first pass, keep the review group for yourself, and your hours go to editing instead of sorting.
Auto Cull is part of Pixeva's tools for photographers. You can see the full workflow on the for photographers page, or create a free account and run it on a gallery.