How to Share Wedding Photos with Guests Using QR Codes
Pixeva Team
How to Share Wedding Photos with Guests Using QR Codes
Wedding day photos are priceless — but sharing them with guests can quickly become messy.
Multiple WhatsApp requests, missing links, confused guests, and endless “Can you send me my photos?” messages can turn post-wedding joy into admin work. QR code photo sharing solves this by giving every guest one simple path: scan, access, and find photos in seconds.
In this guide, you’ll learn exactly how to set up QR code photo sharing for weddings, where to place QR codes for maximum scans, what the guest journey should look like, and how to avoid common mistakes.
Why QR Codes Work So Well for Weddings
QR codes are perfect for wedding photo delivery because they’re:
- Instant: no typing long URLs
- Universal: works on almost every smartphone camera
- Frictionless: no app install required
- Shareable: can be printed on cards, signs, and wedding materials
At weddings, simplicity wins. Guests are dressed up, socializing, and moving between moments. They won’t remember a long link — but they will scan a code.
What You Need Before Setup
Before generating your wedding photo QR code, prepare these basics:
- Your wedding gallery/event page in Pixeva
- Photo access settings (who can view/download)
- Guest flow (open gallery directly, or selfie-first if enabled)
- Final destination URL (the URL your QR code will open)
If these are ready, setup takes only a few minutes.
Step-by-Step: Create a Wedding Photo QR Code
Step 1: Create or open your wedding event
Set up your wedding gallery in Pixeva and confirm event details are correct (name, date, permissions).
Step 2: Get your event link
Copy your event’s public or guest-access URL.
Step 3: Generate QR code
Use Pixeva’s QR option (if available) or generate from your event URL and download the image file (PNG/SVG).
Step 4: Test on multiple devices
Scan with:
- iPhone
- Android
- older camera apps
Make sure it opens quickly and lands on the correct page.
Step 5: Print and place
Print high-contrast versions and place in strategic locations (see placement section below).
Where to Place QR Codes at a Wedding (High-Impact Spots)
Placement matters as much as setup. Best results usually come from 4–6 touchpoints:
- Welcome board / entry signage
- Table tent cards at each guest table
- Reception bar / lounge signage
- Photo booth area
- Wedding program inserts
- Thank-you follow-up card (post-event)
Placement tips
- Keep QR size readable (at least ~2.5 cm / 1 inch on small cards; bigger for signs)
- Use strong contrast (dark code on light background)
- Leave white padding (“quiet zone”) around code
- Add a clear CTA near code:
- “Scan to find your wedding photos”
- “Scan. Selfie. Done.”
- “Scan to view tonight’s gallery”
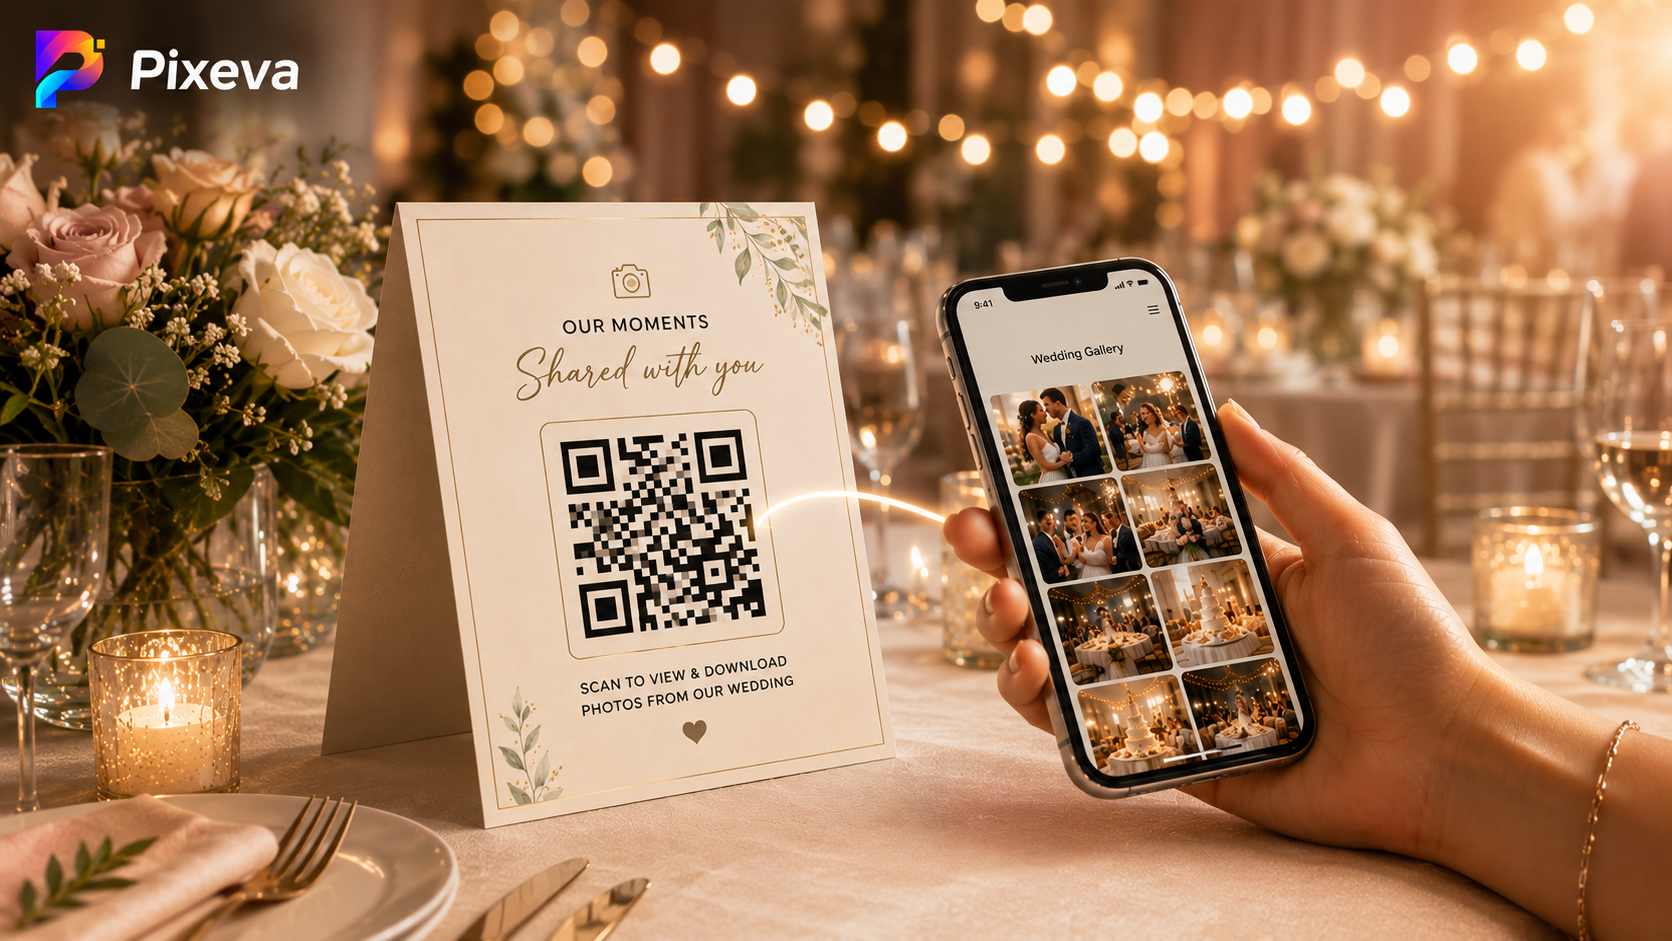
The Ideal Guest Journey
Your guest experience should feel effortless:
- Guest sees QR code at table/signage
- Guest scans using phone camera
- Gallery opens in browser
- Guest browses or uses selfie/AI search (if enabled)
- Guest views/downloads favorite photos
No app install, no account maze, no confusion.
Real Wedding Example (Simple Scenario)
A 300-guest wedding with two photographers typically produces hundreds of photos across ceremony, couple portraits, and reception.
Without QR access:
- Guests ask in DMs for links
- Couples forward links repeatedly
- Many guests never find their photos
With QR access:
- Guests scan directly from table cards
- Everyone enters the same gallery flow
- Photo discovery starts on the same day
- Fewer support messages for couple/planner
Benefits for Couples, Planners, and Photographers
For couples
- Less post-wedding admin
- Faster sharing with family/friends
- Better guest experience
For planners
- Professional, organized workflow
- Fewer guest support requests
- Easy integration into wedding stationery/signage
For photographers
- Centralized delivery path
- Better client satisfaction
- More discoverability of final gallery
Common Mistakes to Avoid
-
Tiny QR codes
- Hard to scan in dim reception lighting
-
Low contrast designs
- Aesthetic is good, scannability is better
-
No CTA text
- Guests may not know what the code does
-
Untested links
- Always test before printing
-
One placement only
- Guests miss it; use multiple touchpoints
Best Practices Checklist
- Event URL finalized
- QR tested on iPhone + Android
- Printed with sufficient size/contrast
- CTA text added near code
- QR placed at multiple wedding touchpoints
- Access permissions verified
- Backup digital link ready for follow-up message
Add QR Sharing to Your Wedding Timeline
For best engagement, combine QR rollout with timeline moments:
- Before ceremony: welcome sign visible
- Reception seating: table cards ready
- Photo booth open: extra signage
- Post-event (next day): send link reminder with same QR
This keeps discovery active beyond the event night.
Final Thoughts
Wedding photos are emotional memories — sharing them shouldn’t feel complicated.
QR code access gives guests the easiest possible path: scan, open, enjoy. With the right setup and placement, you reduce support friction, increase gallery usage, and create a premium experience for everyone involved.
If you want simple, no-app wedding photo access for guests, QR code sharing is one of the highest-impact upgrades you can make.
Ready to try it?
Set up your wedding gallery in Pixeva and launch your QR code flow today.
Keep exploring with Pixeva
Want to put this into practice? These pages go deeper: